Replacing H11b with H11 bulbs
The H11b bulb used more or less only by Hyundai-Kia is physically and
optically identical to the regular H11 bulb, except for different
socket/connector provisions. The H11b is hard to find, unnecessarily
expensive, there are no good, legitimate upgrades for it, and
replacement H11b sockets aren't available—a good collection of
reasons to do a small bit of easy work to enable the use of H11 (non-b)
bulbs.
You'll need:
Nut driver, usually 10mm Vise-Grips
A
good wire stripper/crimper tool Screwdrivers, wrenches, and other
ordinary hand tools.
Good quality, appropriate bulbs; that's usually going to
mean these—Check
with Daniel Stern if you're not sure.
Good quality H11 bulb sockets;
Daniel Stern can usually supply them.
Good quality 16-14 gauge male ¼" spade terminals or butt
connectors; see options below
Good quality electrical tape and/or heat shrink
tubing
- Disconnect the negative battery cable from the
battery.
- Remove the headlamp assemblies from the vehicle. You'll
usually find a multi-wire connector attached to the headlamp housing; this
must be unplugged. One side of the connector will have a plastic lock tab
that must be depressed/squeezed in order to unplug the connector.
- Place the headlamps lens-down on a clean towel so the lenses don't get
scratched.
- Remove the bulb access doors to gain access to the low beam
bulb in each headlamp.


- Remove the original H11b low beam bulb.
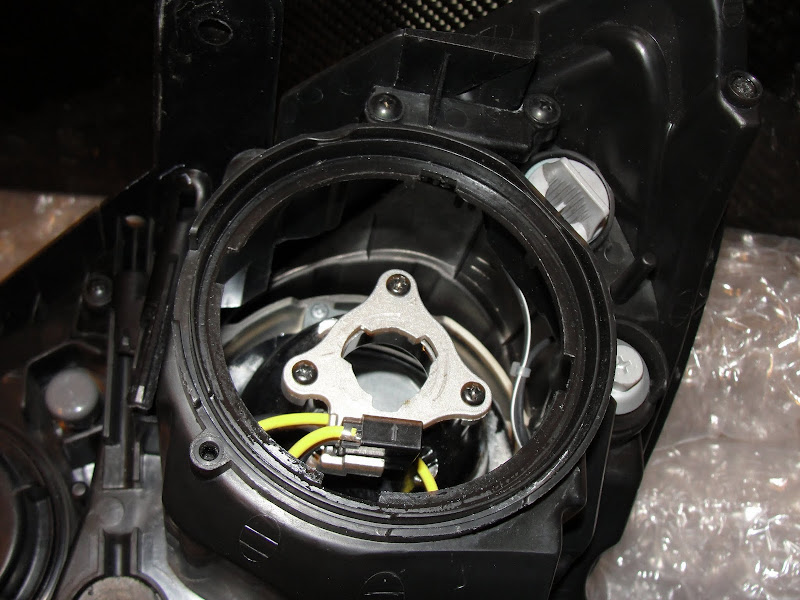
- Unscrew the 3 screws holding the metal bulb seat to the headlamp
optic.


- Remove the electrical socket from the bulb seat. Affix your
Vise-Grips to the socket (plastic piece):
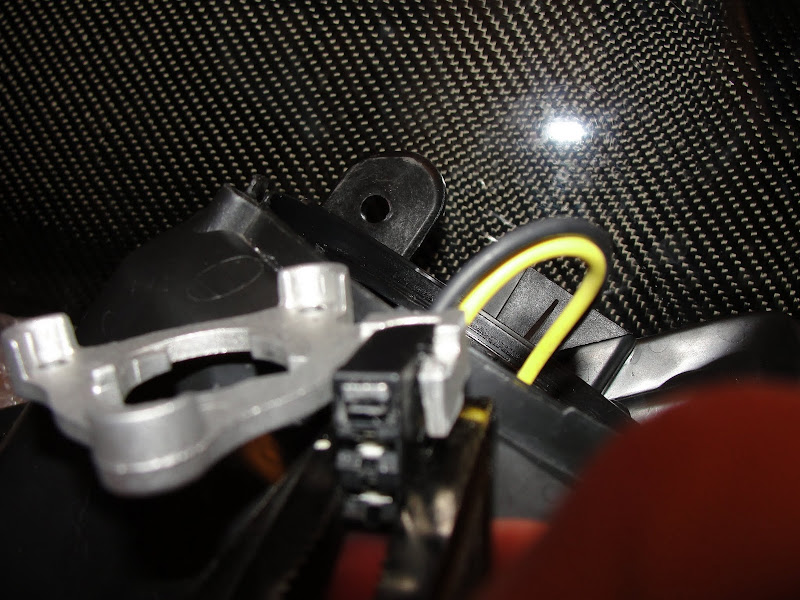
There's a metal tab that must be pushed down:
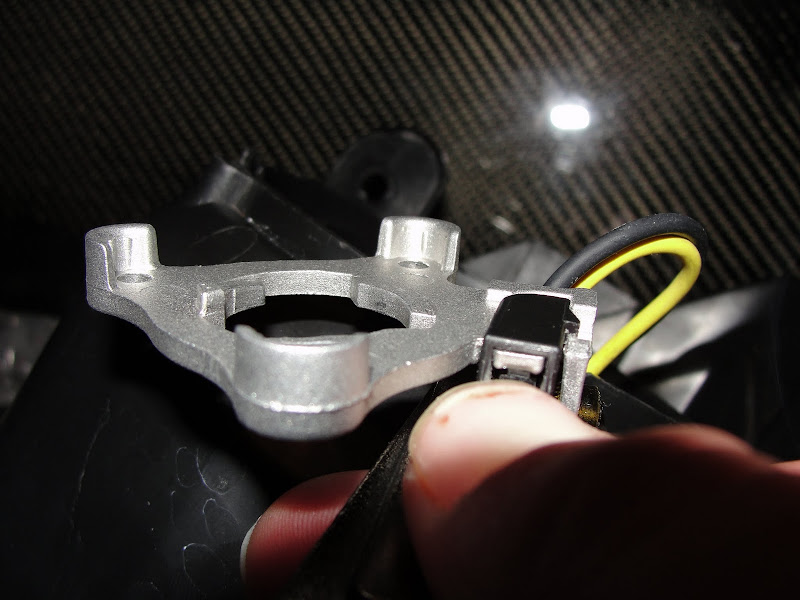

You will also need to push up on the metal base to allow clearance for
the plastic piece. While pushing down on the metal tab with your thumb,
use the Vise-Grips and lift the metal base while pushing out on
it:

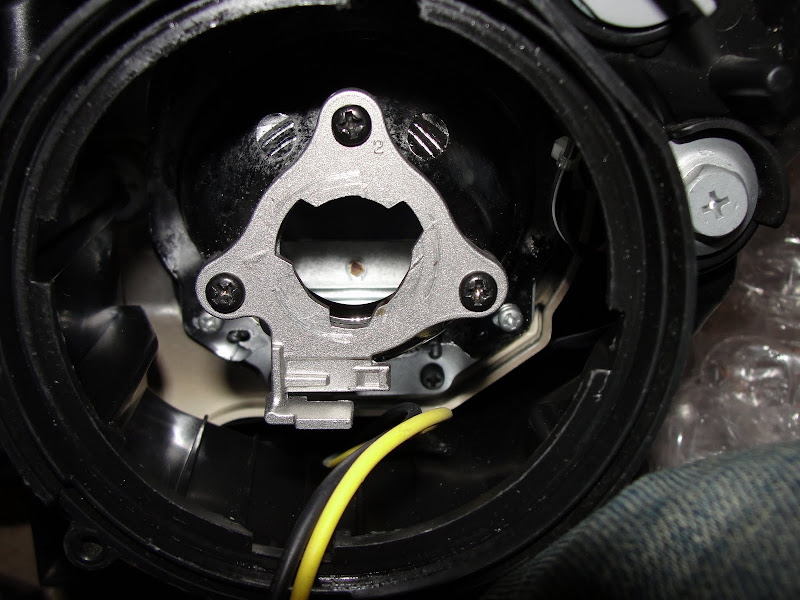
You should now be at this stage:

- Reattach the metal base to the headlamp optic using the original
screws:
- Crimp one ¼" male spade terminal onto each wire of your
new H11 or H9 socket:


Now you should have this:

- Push the spade terminals into the plastic connector. It does not
matter which wire connects to which; none of the bulbs we're talking
about is polarity-sensitive.

- Surround the spade terminal area with electrical tape as a
precaution to make sure the metal quick disconnects wouldn't touch
anything and cause a short circuit:

Note that's just one way to do it, and it's the one you
should pick only if you care about retaining the ability to go back to
H11b bulbs at some future date, and if your H11b connector is in good
condition. If it is not, and/or you don't care about ever going back to
an H11b bulb, you can reduce the number of connections to
improve the ease and reliability of this upgrade by doing it another
way:
- Cut the original H11b socket off the ends of the
wires, leaving you with two individual wires.
- Install your new
unwired H9 or H11 socket onto the wires or, if your new sockets already
have wires on them, use butt connectors to attach the socket's wires to
the car's wires.
- At this point, procedure varies
depending on the particulars of the headlamp model you're working with.
Some of them have ample space to install the bulb into the headlamp and
then plug in the socket in the usual fashion—in that case, go
right ahead. But others don't have quite enough space to plug in the
socket after the bulb's installed, so you'll have to plug the socket
into the bulb and then install the bulb-and-socket assembly into the
headlamp:


 You may encounter insufficient space in the housing to get the socket
onto the bulb or install the bulb/socket assembly. In that case, install
the bulb, and turn it slightly to line up its connector with an area
with more space:
You may encounter insufficient space in the housing to get the socket
onto the bulb or install the bulb/socket assembly. In that case, install
the bulb, and turn it slightly to line up its connector with an area
with more space:

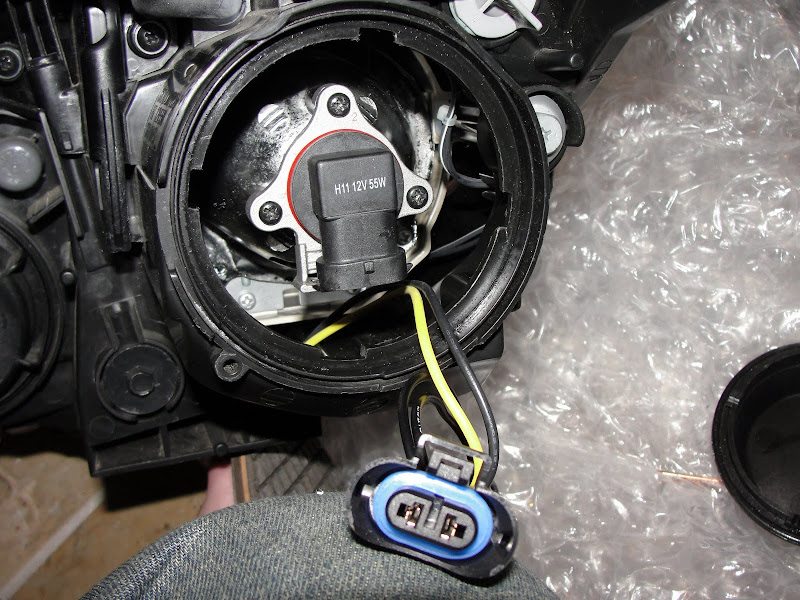
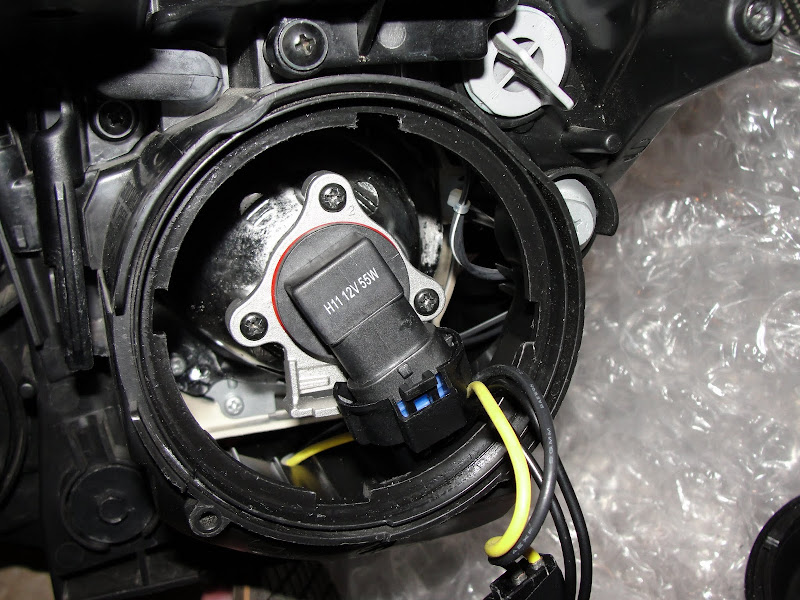
It's very important, once the bulb is connected, to rotate the bulb
fully clockwise until it stops.
- Assembly and installation is the reverse of removal and disassembly.
Headlamp aim is by far the main thing that determines how
well you can (or can't) see at night, and how much glare you're throwing
around. Even many brand-new vehicles have poorly aimed lamps, so this is
crucial: you will need to see to it that your headlamps are
carefully and correctly aimed.